Category: How-to Articles

Improving Monitor View for Shorter Customers
- Post author By volairsim
- Post date November 3, 2020
- No Comments on Improving Monitor View for Shorter Customers
Increasing View Over G1000 Panel
- November 3, 2020
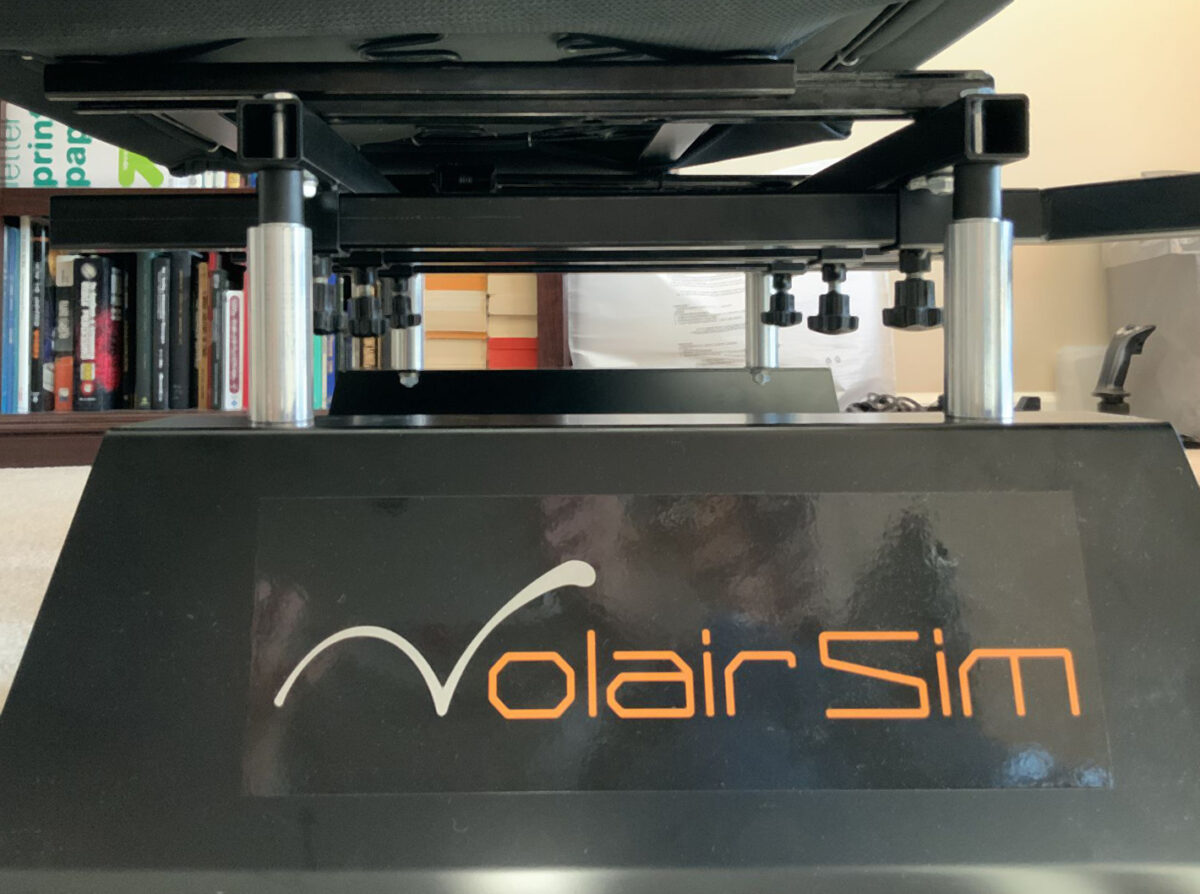
One of our customers, John, has installed the Garmin G1000 panel and wanted to improve the view over the panel.
Here is what John says, “I have your flight sim cockpit – only problem I have is being too short! The seat is too low overall for me (I have to sit on a pillow!) so I added a 22mm spacer under the seat.”
The 22mm spacer was not quite enough so John continued to experiment.
John writes, “I modded the seat supports with 3″ aluminum spaces from McMaster-Carr (also kept the 22mm TV mount spacers just in case – didn’t want to have to disassemble the seat twice). Solid as a rock and much better for me than before the mod.”
Microsoft Flight Simulator 2020 – Tips
- Post author By volairsim
- Post date September 28, 2020
Microsoft Flight Simulator 2020 – Tips
- September 28, 2020
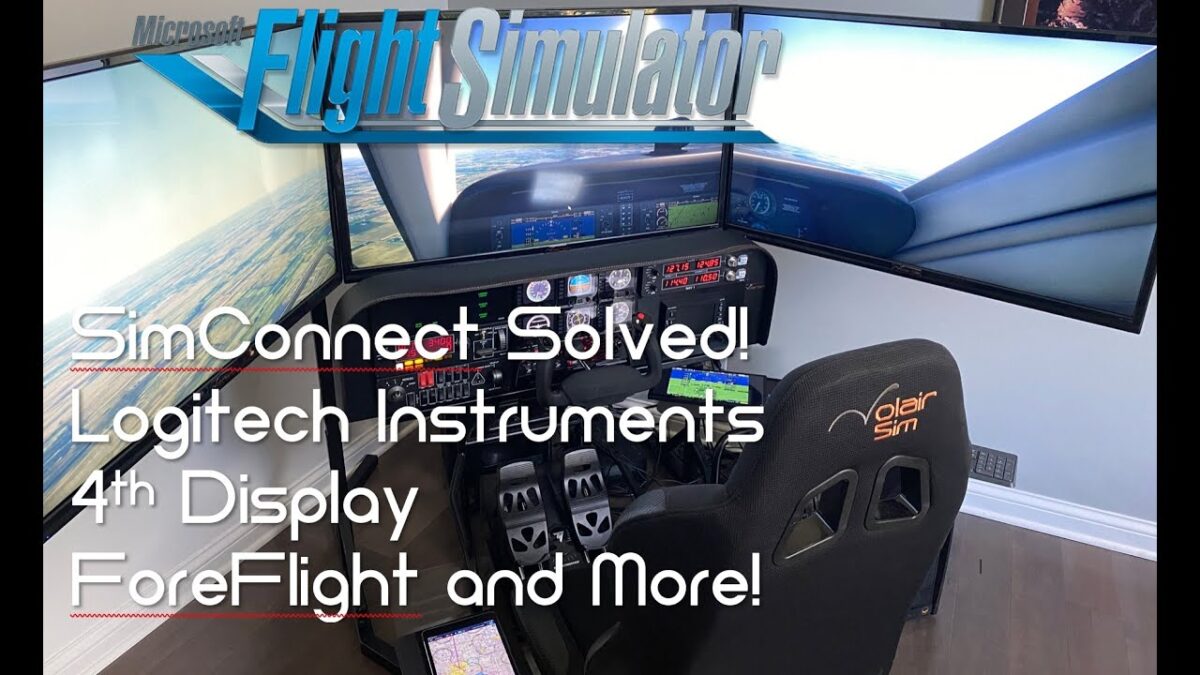
Many of you are contemplating migrating to MS2020. Here is a video of the current state of hardware compatibility that you may find helpful as you migrate the Volair Sim.

Multiple Monitors – The DOs & DON’T when shopping for flight sim displays
- September 18th, 2020
We frequently receive e-mails asking us for tips with respect to monitor selection for the Volair Sim set-up. Below, we would like to summarize a few salient points for you to consider as you embark on the monitor shopping journey.
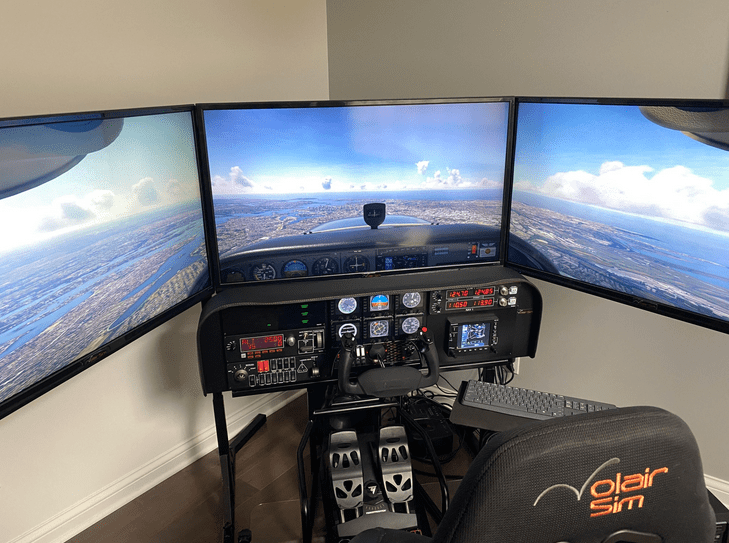
The first question that nearly everyone asks is, “Would I be better off with one large display (maybe curved) vs. three smaller ones?” Irrespective of the economics (one can often buy three smaller displays for less than one large, especially curved, display) the item to consider is the overall field of view. Put it plainly, with triple monitors, you will have a much wider horizontal field of view than with a single display (even ultra-wide one). This is especially important for VFR flying where, for example, you would be looking through your left window to judge the proper distance from runway end so you can begin your turn to base from downwind. With a single monitor, you would not have enough field of view to be able to see through the side-windows.
“What about an ultra-wide or curved monitor?” We don’t recommend it because you will lose quite a bit of the vertical display which will limit the ability to view the cockpit instrumentation below. Note that, since the wide monitors are physically wider than standard 16×9 monitors, you may have size limitations when mounting it to the chassis. Lastly, they are expensive and we think money could be better spent elsewhere.
The next question is, “What is the best size of displays should I get?” As your significant other will eagerly tell you, larger is almost always better, but within reason. Within the standard Volair Sim chassis, we would not go below 27″ and we think three 27″-29″ 16×9 monitors is a good sweet-spot. If you want to go larger and prepared to get the independent large triple display stand, we think 40″-42″ are optimal; they will cover your entire field of peripheral vision and provide a stunningly immersive experience.
“What about technical parameters? Resolution, refresh rates, pixel response time, viewing angles?“
First, in the flight simulation world, things happen relatively slowly. Typically, your sim will run at 30-60 frames per second (fps). Therefore, having a 144Hz (144 fps) monitor is an overkill.
The 1ms pixel response time may be important in e-sports but does not matter much in flight sim since, even at 60fps (60Hz), any pixel would switch only at about 1/60Hz = 0.0167s = 16.7ms. Thus, a standard 5ms display will suffice.
The viewing angle is a bit of consideration since the left and right monitors will be mounted on an angle so you want a display with a good viewing angle. Therefore, an IPS (in-phase switching) displays are recommended as they offer very good viewing angles. Most regular computer and TVs are IPS, so we are OK here.
The display resolution should be at least HD (1920x1080p). Keep in-mind that the resolution stays the same as the size vary; 27″ HD monitor has the same 1920×1080 resolution as the 42″ HD TV. In other words, the pixels are farther apart on the large display than on a smaller one. That is why, going to an ultra-large display may not be a great idea in the flight sim application where you sit so close to the displays.
As to the HD vs 4k displays (1920×1080 vs 4096×2160), note that at time of this writing (Sept, 2020), running three displays in 4k is still a tough proposition given the state of graphics card (GTX 3080 JUST came out). Therefore, we recommend HD (1920×1080) displays, at least for now, until the graphics card horse-power can catch-up. This is especially taxing for triple displays where the pixel count grows by an order of magnitude as one transitions from HD to 4k.
To sum up, save your money – you will be better off investing the money into things that matter – controllers especially or maybe avionics.
Now, onto the DOs and DON’Ts of display shopping.
First, get a display with a VESA mount (some monitors do not have it so always check) and ensure that:
1. The back is flat (so that it will mount to the Volair Sim bracket easily).
2. The VESA mounting space has not been somehow blocked. Below is an example of what NOT to buy:
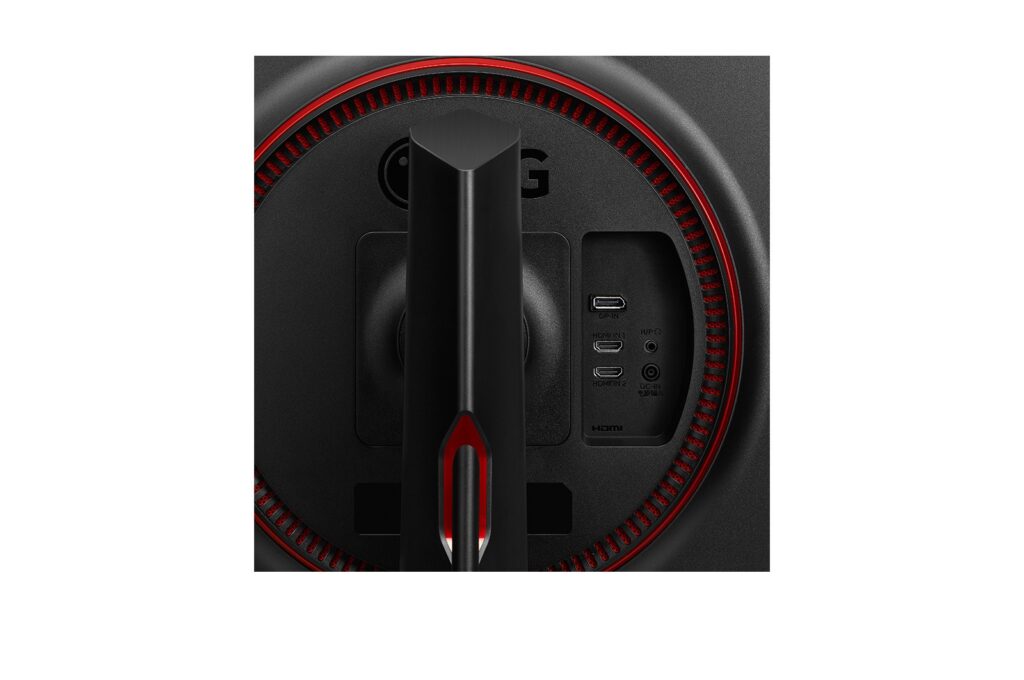 BAD IDEA! The HDMI and power ports will be completely obscured by the mounting VESA bracket. Also note raised ring which will make mounting difficult.
Here is an example of a good choice of a monitor with a flat back and easily-accessible HDMI and power ports:
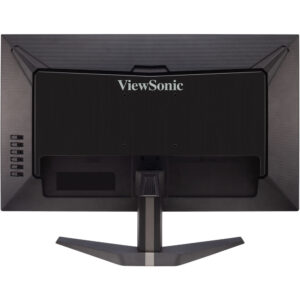
GOOD IDEA! Flat back, connection ports are easily accessible.
Next, ensure that the display bezels are as thin as possible. This will create a seamless, uniform appearance. A bezel-less displays are especially attractive as you will be able to form a nearly-uniform display surface.
If shopping for large displays, where you will be essentially buying TVs, skip on the extra features (built-in apps, etc). You won’t be using any of this so why pay extra.
IMPORTANT: ALWAYS BUY 3 MONITORS FROM SAME SOURCE/LOT. This is important as often manufacturers switch between the panel substrates inside the displays. So, for examples, if you buy one display from BestBuy one month, then you wait a few months months and buy remaining two displays from elsewhere (because they are out of stock at BB), you may notice large color variant between the displays. That is because these monitors, even though the share same P/N, have different panel substrates which vary in color palette. Since the displays are adjacent, any color mismatch will be very noticeable.
For details on connecting the displays and configuring them, please see the following series of articles:
Flight Sims & Multiple Monitors – Part I
Flight Sims & Multiple Monitors – Part II
HAPPY FLIGHT SIMMING!
Flight Sims & Multiple Monitors – Part I
- Post author By volairsim
- Post date December 5, 2017
- 1 Comment on Flight Sims & Multiple Monitors – Part I
Flight Sims & Multiple Monitors - Part I
- December 5th, 2018
Single TV vs Multiple Monitors. Does size Matter? Purchase Considerations
One of the more frequently-asked questions posed by prospective flight sim users is about multiple displays. New flight simulator users are often overwhelmed (and perhaps confused) by the plethora of options available with respect to optimal quantity, sizes, placement, and configuration of monitors or TVs to use with a flight simulator. Therefore, it is appropriate to devote some time discussing various hardware aspects of the visuals used with a flight sim set-up. We will try to present the reader with substantiated justifications for opinions shared here. The following recommendations assume a single-person simulator as opposed a dual student/instruction station and is focused on a reasonable simple and cost-effective general-aviation set-up vs. elaborate jetliner cockpit.
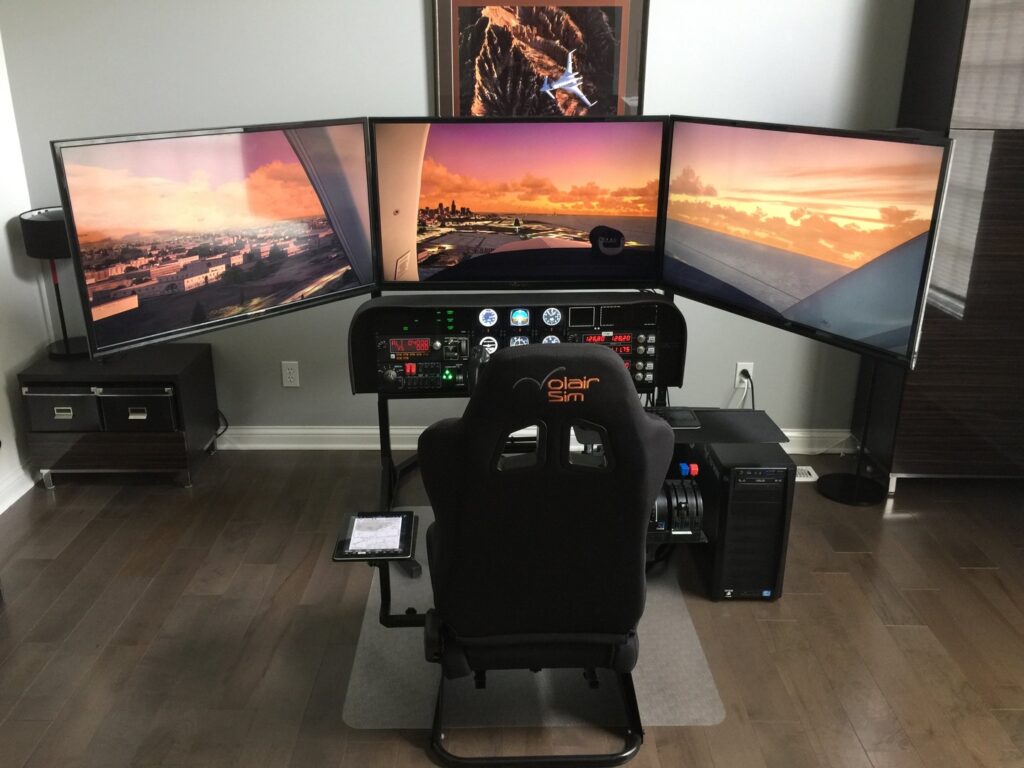
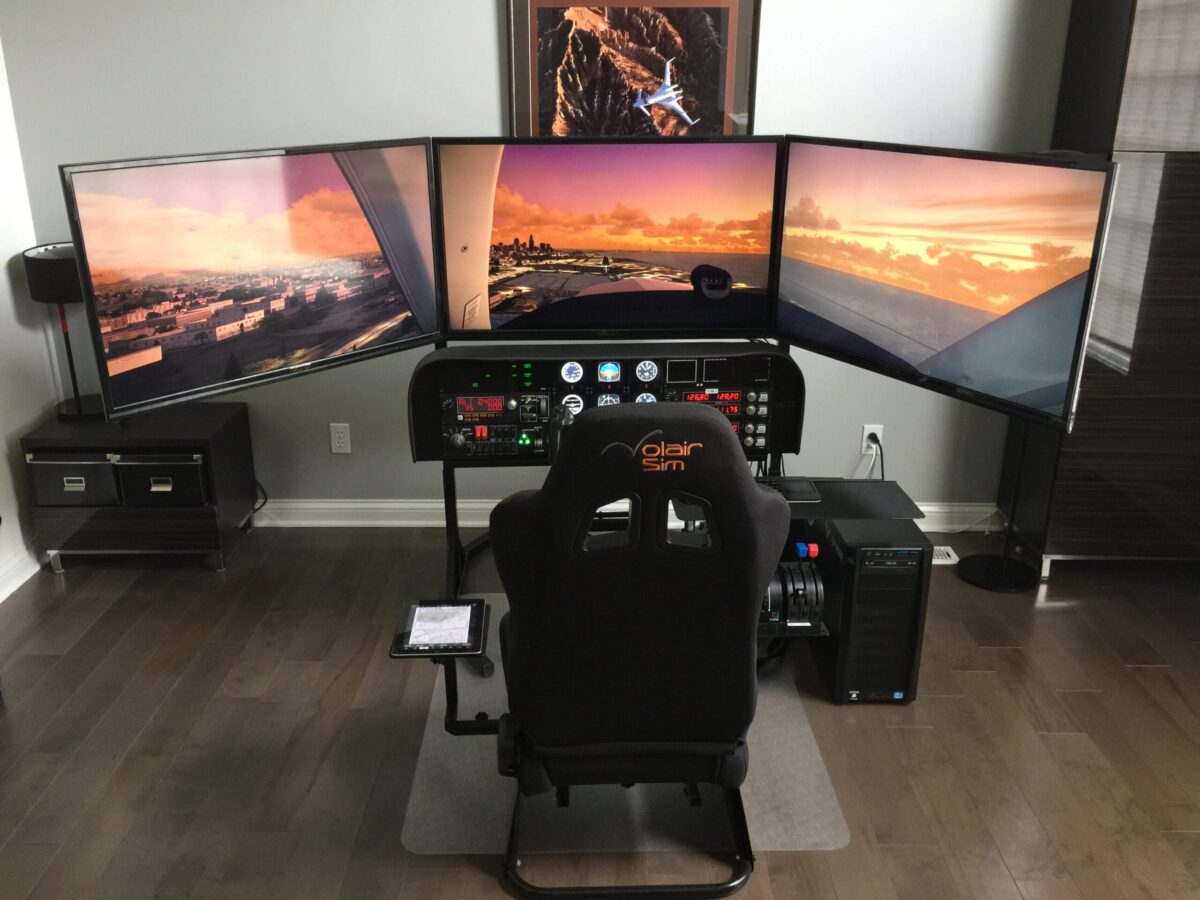
The question that is asked most often is, “Are multiple (smaller) displays better than one large one?” The following may be a highly biased answer but in our opinion (supported by feedback from hundreds of customers) multiple displays, irrespective of the cost and space considerations, are always a better bet than a single (even very large) display. There are several reasons for this. First, and you have to trust our word on this one, multiple displays offer a much better sense of immersion vs single monitor or even a large TV. By having the external view span most of the user’s visual field, the sense of flight and being inside the cockpit is greatly enhanced. Even with a triple monitor set-up arranged in an angled “U” shape, a good portion of flight simulator user’s peripheral vision is covered by the left and right monitors. Interestingly, while larger monitors are better than smaller ones, a good level of immersion can be achieved with just three 27” monitors. Correspondingly, based on our research, going much beyond 40”-42” in size for a triple installation offers little additional benefit from the immersion perspective although undoubtedly increases the “wow” factor from the onlookers.
The more pragmatic (pilot-specific) aspect of triple monitor set-up is the ability to look through the left (or right) “windows” while making turns from a downwind leg to base leg and from base to final. During a standard traffic pattern, pilot glances through the left (if in the left or standard traffic pattern) or a right window (for the right traffic pattern) periodically so that he or she can appropriately start the turn. Having the left and right monitors and setting up the cockpit view appropriately, allows the user to see the runway over the shoulder just like in the real aircraft. This is very useful during primary instruction when a student is learning to fly a proper traffic pattern as well as in advanced instruction where students are practicing, for instance, circling approaches.
Of course, users with single monitors set-ups will be quick to point out that using a hat switch or a Track-IR system allows user to quickly change views and that is of course true. The problem is that every time a view is changed, in our opinion, the sense of immersion is instantly lost and therefore, the flight sim experience is compromised. Lastly, the switched view approach does not prepare the flight simulator user for the expected view when flying physical aircraft.
The next logical questions that comes up is, “How many displays should one have?” We found that triple displays (we are discussing external views only) are often sufficient to provide an excellent immersion while keeping cost and space considerations to minimum. Of course, having five external monitors would be better but we are reaching, to borrow an economic term, a law or increasingly marginal returns.
Some may ask, “What about curved displays?” We think that they are a nice and modern, albeit costly, upgrade. Again, triple “traditional” display set-up will offer more immersion than a single curved one, at least at current level of the curved technology where the level of curvature/wrap-around is pretty minimal.
Lastly, let’s discuss the VR as an alternative to conventional displays. VR as a technology for gaming and an alternative to traditional displays is definitely here to stay and probably will have a very significant impact on the future of flight simulators. The immersion factor is obviously unparalleled, the space and cost savings can be significant. Why isn’t everyone abandoning monitors or TVs and jumping onto VR platform then?
Irrespective of the biological factors (nausea), there are few obstacles that remain to be solved for VR to be a serious alternative for flight simulation. First, the graphical resolution of today’s VR hardware does not quite match a high-quality monitor or TV set-up. Second, the virtual-physical interface in an aircraft cockpit needs improvement. Currently, the support for interaction with physical switches or controls is still in its infancy. A glove-like or (even better) glove-less controller that would allow the user to naturally interact with the physical world is a research subject to every VR hardware manufacturer. However, the implementation seems, as of today, a lot more difficult than anticipated. While for general-purpose gaming the VR hand-held controller is probably sufficient, it is a deal-breaker for achieving sense of realism in the flight sim. In sum, flight simulation needs a “merged-reality” solution. Otherwise we are back to the mouse-clicking solution from the legacy flight sim days.
Now that we’ve explained the benefits of multiple displays, let’s offer few practical words of advice on physical monitor or TV selection. In short, try to find monitors or TVs with as thin of a bezel as possible to achieve the optimal “wraparound” effect. Second, if you are planning to mount your monitors or TVs, you need to ensure that the monitor has a VESA mount which is a standardized four-hole pattern on the back of the monitor and TV. TVs, especially large ones, all have the VESA pattern on the back since they are meant to be hung on a wall but the monitors do not always have the VESA pattern so you must check prior to purchase.
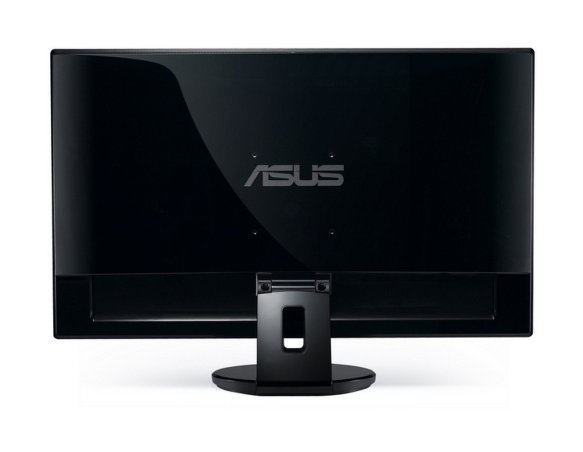
Lastly, let us address the question, “Should I buy a TVs or computer monitor?” Given dropping TV prices, many of the flight sim users are tempted to buy a TV in-lieu-of a monitor especially that one can often purchase larger TV for the same price of a smaller monitor. The answer is, it depends. If all of your sim usage is going to be dedicated for flight simulation, TVs are probably fine but keep in mind that TVs typically have lower refresh rates and input lag times as compared to monitors so playing fast-paced games on a TV will not yield the same quality and smoothness as on a gaming monitor. Also keep in mind that a pixel density of a comparable resolution monitor is much higher than on TV (ever wondered why text does not appear as clear on a large high-definition TV as compared on your monitor) so if you opt for some really large TVs and position them close to you, you may be disappointed. To sum up, either stick with quality monitors or keep the TV size reasonable (again 40”-43” seems like a sweet-spot for high-definition TVs for simulator use).
Flight Sims & Multiple Monitors – Part II
- Post author By volairsim
- Post date December 5, 2017
- 1 Comment on Flight Sims & Multiple Monitors – Part II
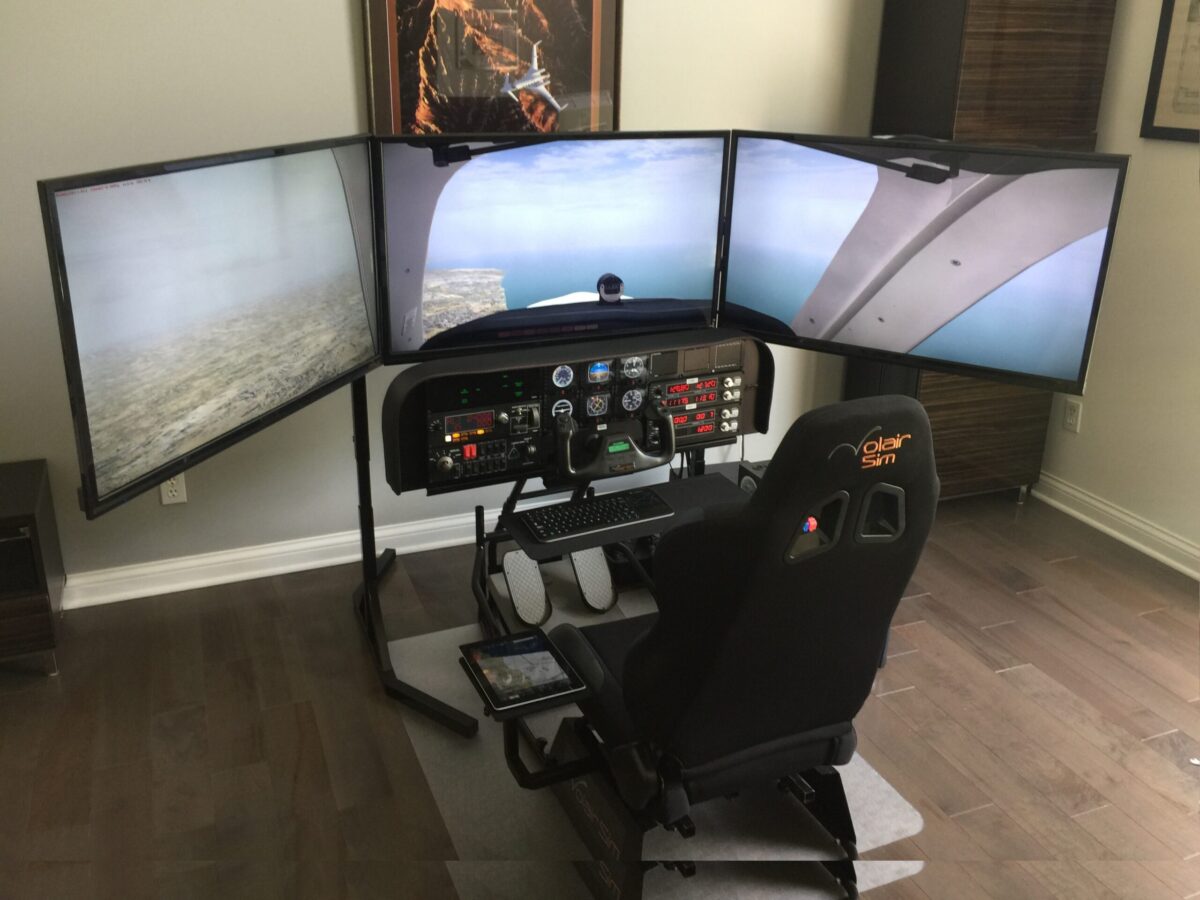
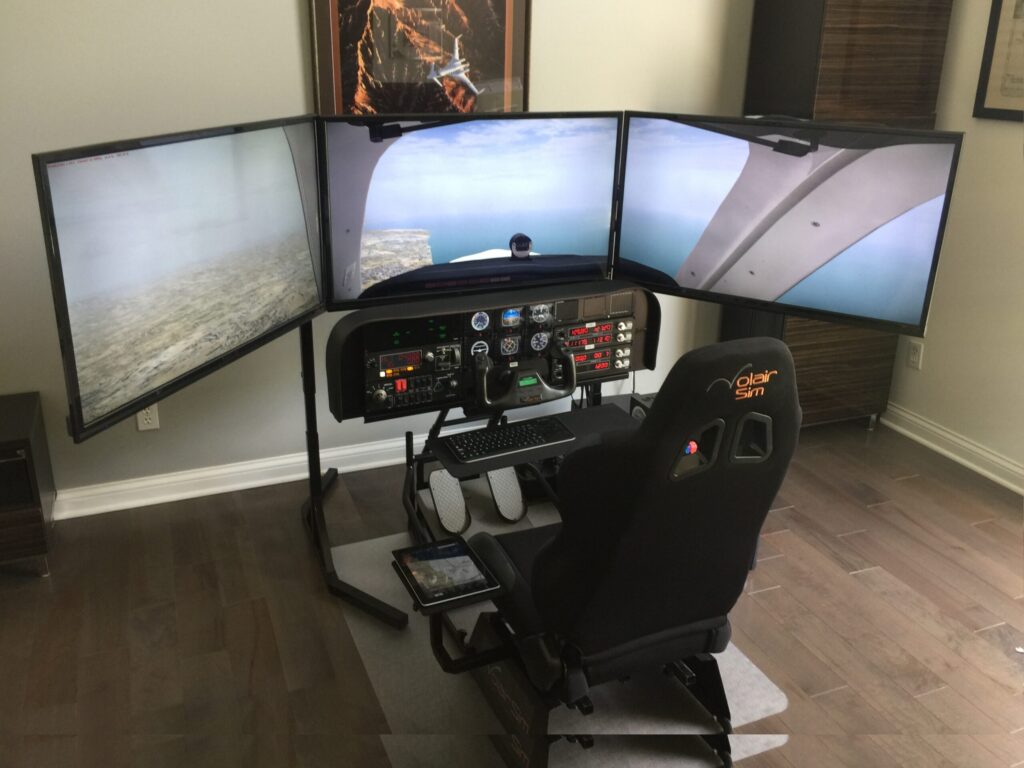
Flight Sims & Multiple Monitors - Part II
- December 5th, 2018
In Part II, let’s spend some time discussing monitor hook-up and configuration. For a typical flight sim installation, a single gaming graphic card with multiple monitor outputs is the best solution. What kind of a card is best? In short, as of this writing NVIDIA 1060 series and above is a good choice. Here is a link to the current NVIDIA graphic card line-up. Note, for multiple monitor configuration, video memory is important with 4GB a minimum to achieve smooth frame rates.
A typical modern graphics card supports from three to six monitors. For example, an nVidia GeForce GTX 1070 (a popular choice) supports up-to four monitors. See the connections on the back of the card below:

The card features one DVI port, three HDMI ports and one DisplayPort. The DVI and HDMI port are shared so you can have a maximum of four independent connections.
To configure the system in a multi-monitor set-up, install the drivers that came with the graphics card and then simply plug the monitors or TVs individually to the corresponding ports on the back of the graphic card. You may have to buy adapters that go from the DisplayPort to HDMI as they DisplayPort and HDMI are physically slightly different plugs. Alternatively, you can also purchase DisplayPort to HDMI cables and connect your monitors or TVs directly:

After connecting the monitors, it is time to configure the monitors. First, open the NVIDIA Control Panel. You can do this from the pop-up menu when you right-click on the desktop.
First, under the Display category, select “Set-up multiple displays.” Next, Check the box next to the inactive display you wish to activate as a secondary display and click apply. Note, if your display is not shown, click “My display is not shown…” to force display detection. You can drag the green boxes around to match the physical arrangement of your displays, and choose which one is primary by right-clicking on it and selecting “Make Primary.” The primary display will have a “*” in the top right corner on the display as shown below:

Now that we have the displays enabled and organized in the right order, we can work on getting the Surround mode enabled so that the entire multi-monitor set-up will function as one large desktop. In the Surround mode, the resolutions of monitors get added together to form a single virtual monitor or desktop. Therefore, three 1920×1080 monitors in the surround mode will have a 5760×1080 resolution.
Next, under 3D Settings, select “Configure Surround, PhysX”. Select “Span displays with Surround” and click “Configure”

You will now be able to confirm the display layout and order and perform a very important step called “bezel compensation.” Bezel compensation, as the name suggests, allows you to virtually “remove” the bezels of the adjacent monitors. The bezel correction is performed via adjusting the two “roads” as shown below so that they seamlessly flow from one display to the other. Use the up/down buttons on the bezel correction window until the road lines up perfectly from one monitor to the next. You can link the bezel correction to have the same factor for both monitors or adjust these individually.
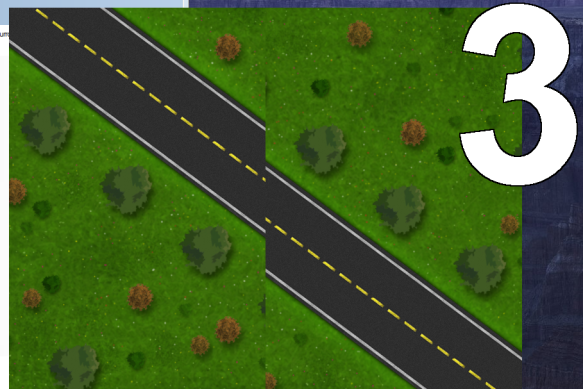
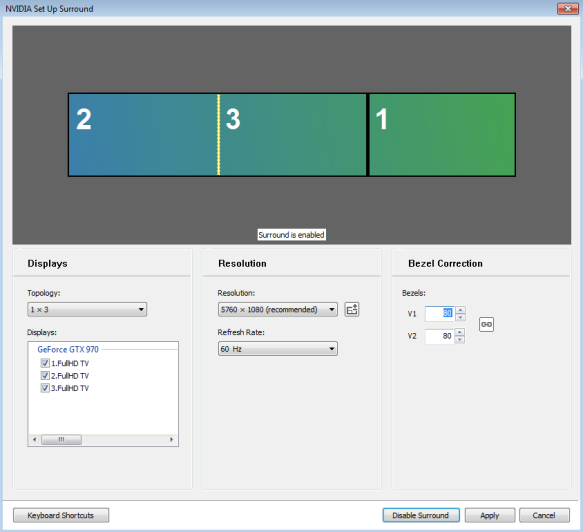
In the example above, the bezel compensation for each monitor is 80 pixels and the resulting horizontal resolution is 5760 + 2×80 = 5920 pixels. This will be the resolution you will set in the flight sim so that you will achieve a seamless view across all three monitors. Below are the corresponding display settings for Prepar3D and X-Plane 11.


Note: X-Plane allows use to set-up each of the three monitors individually which is a great option for cockpit builders (e.g. for an enclosed cockpit with physical windows) where a dedicated monitor will show a view from a window. In the simple GA installation where an external view is comprised of a joined set of monitors, this option did not seem as flexible as the Surround option above as any small adjustment to forward view made the side monitors lose their location with the forward view one.
