
Tag: honeycomb bravo


Here is very tidy implementation from Stephen, one of our customer.
Stephen, a retired pilot, writes, ” I really enjoy flying the sim either in MSFS 2020 or X-Plane 12.”
The sim features all Honeycomb components: Alpha Yoke, Bravo Throttle and the Charlie rudder pedals. The visuals are displays on three 32″ monitors.
The Charlie rudder pedals fit the cockpit, albeit the L/R pedals need to be removed from the pedal base prior to installation onto the chassis. Please see this article for details.
Also, please note how Stephen is using one of the monitor posts to bundle the monitor power and signal cables for a very neat overall look.
Here is an unedited review by our customer, Randy. He writes,
“The Volair sim cockpit has functioned extremely well for me for flight simulation (both MSFS and X-Plane).
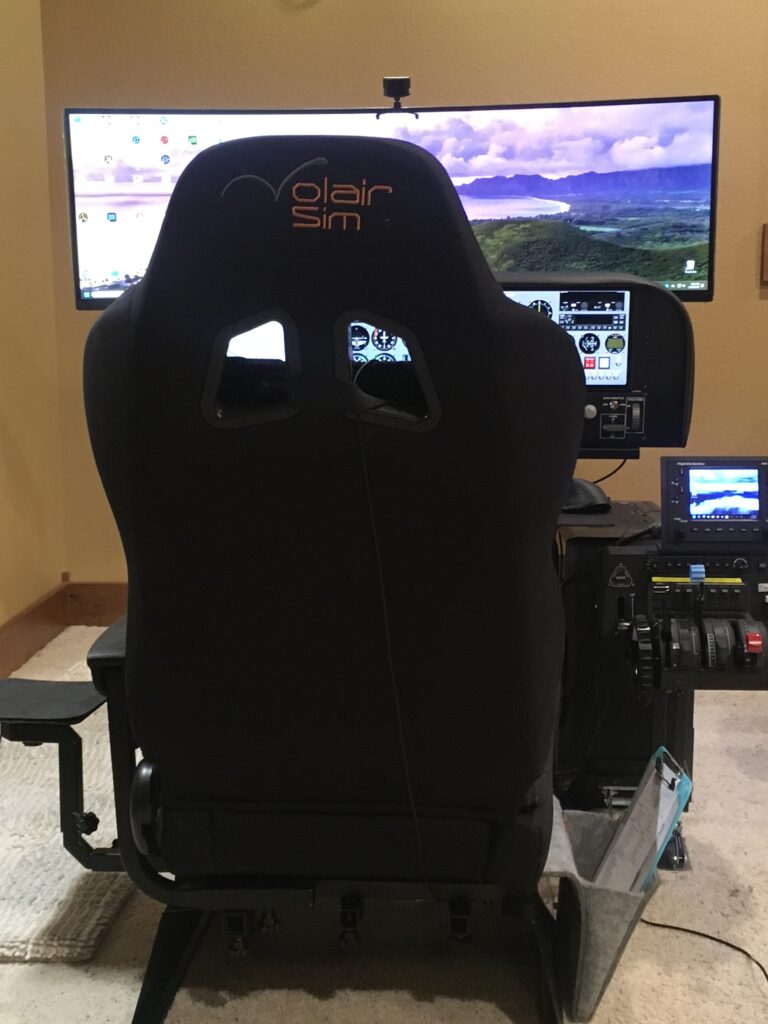
The cockpit assembled relative easily; I’ve also added Volair arm rests (sold separately). The seat is comfortable and allows for adjustment both forward and back as well as tilt. The former is particularly helpful, as it eases getting in and out, and with grandchildren as young as five also wanting to try simming, easily moving the seat far forward to help them reach the yoke.
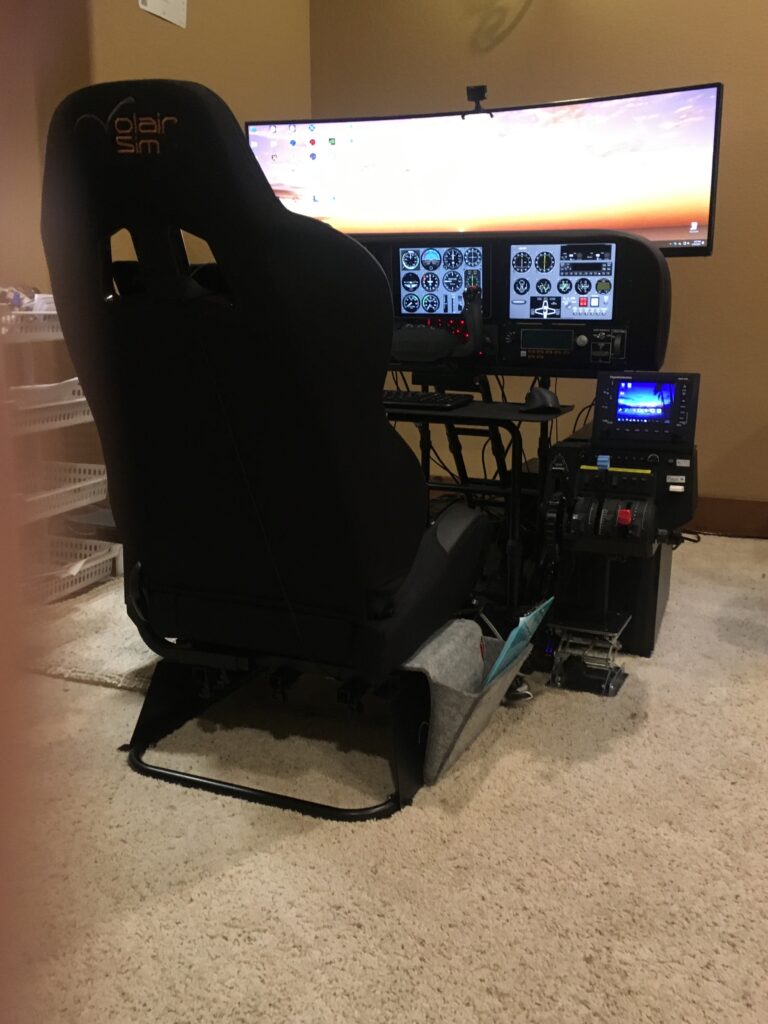
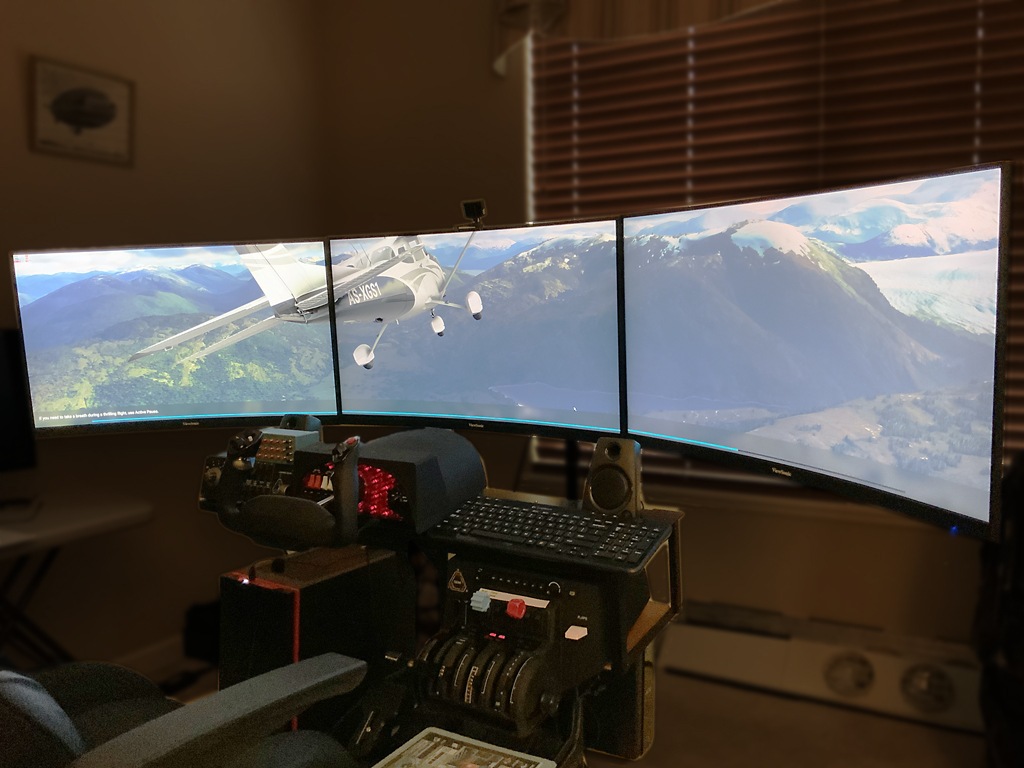
The setup includes an Alpha yoke and Bravo throttle quadrant along with the three iPad panels for primary flight instruments, engine and power management, flap and gear settings, etc. (via Air Manager, on two panels), a moving map (via Navigraph), as well as Logitech Radio Panel for com and nav and multi-panel for autopilot.
I list these here as they are all contained within the basic Volair cockpit and provide all the instrumentation needed to fly realistic flights across a broad range of scenarios.
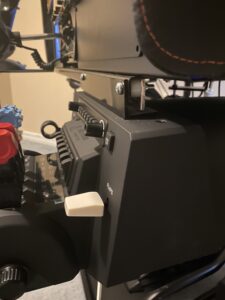
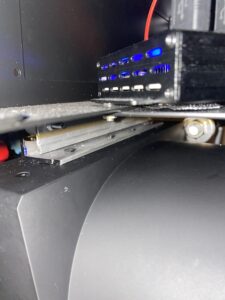
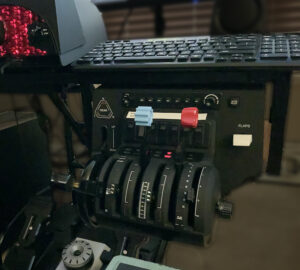
It is important to note that the sizes of the iPads vary to fit the cockpit panels; XForcePC.com has information and videos discussing those sizes. In addition to what mounts within the cockpit, the Bravo quadrant attaches to the base frame via an arm that can be adjusted inward or outward. To the top of the Bravo, I’ve mounted a FlightSimBuilder GNS 530 that enables more direct manual rather than mouse control of that system.
Rudder pedals fit directly under the cockpit; positions as well as the tilt of the rudder platform can be adjusted as needed.
All in all, it takes a bit of fiddling to decide what works best for you, but once that’s done it works great.
In addition, I recently discovered one missing part needed to properly assemble one side of the arm rest. I contacted Volair and their customer service was outstanding. They told me that in their experience this had never happened before, and while they did not have a spare part on hand, to avoid a delay they would take one from a complete set they had in stock and send it out that same day – that’s great service!”
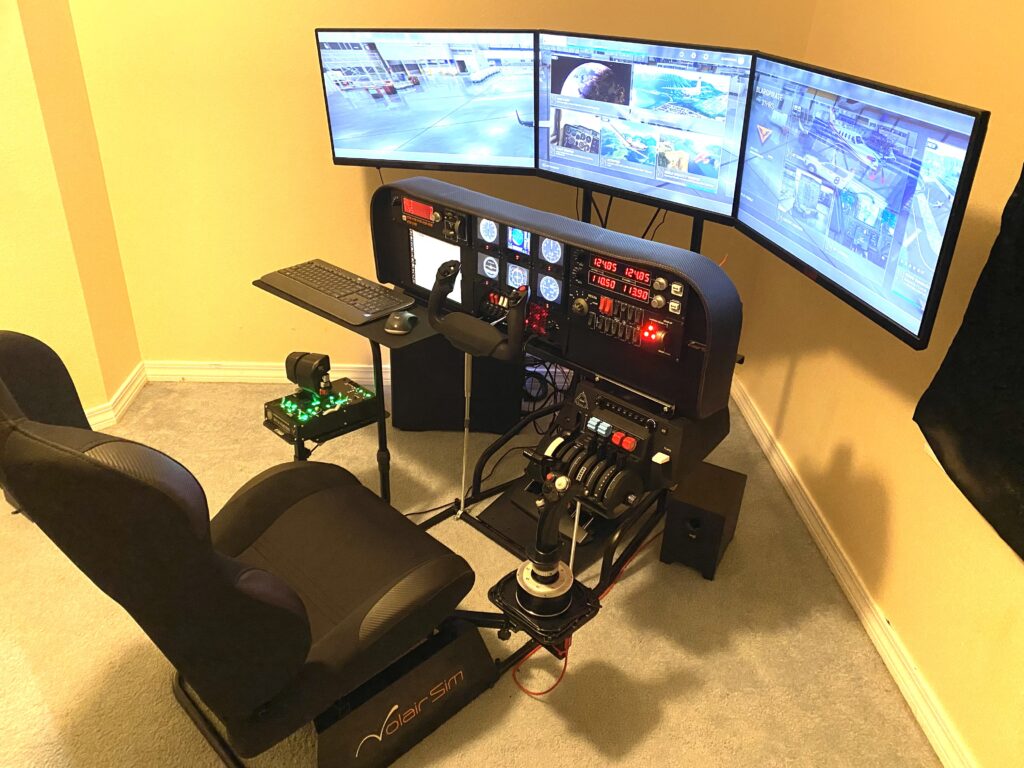
Josh has provided an update on his cockpit build. As you can see, Josh has relocated the keyboard to the left and mounted Honeycomb Bravo to the Avionics Table so that he can use both the Thrustmaster HOTAS and the traditional yoke/throttle configuration.
Josh writes,
“I used 1” x 1” x 1/8” Aluminum Angle, 1” flat Aluminum for bracing on the backside,
M5 Bolts, nuts and spacers, and the factory screws on top of the Bravo.
(And a splash of black paint ^^)”
We thank Josh for providing the photos and write-up of this very clever installation.
John, one of your customers writes,
“Thought you might like to see the latest updates to my volairsim cockpit. Photos attached.
After my grandson discovered a nice 3 -monitor configuration on your website, I (or should I say, he…) decided it was time to ditch the 43″ TV I was using – even though it worked well overall – and go for the 3 monitor configuration. I also purchased the 32″ curved ViewSonic monitors and they work very well. I won’t go into the installation since that was more than adequately covered by the other person. While side distortion is unavoidable, it’s something we can tolerate until such time, if ever, FS2020 supports multiple viewports.
I originally had my Bravo throttle quadrant mounted next to its sibling yoke but it never felt very comfortable there – always felt too high. I had some pre-cut 3/4″ aluminum angle that was almost the exact lengths I needed – when does that ever happen? I built a small platform under the right side and mounted the throttle about 6″ lower than it would otherwise sit. Feels much better now.”
Cookie | Duration | Description |
---|---|---|
cookielawinfo-checkbox-analytics | 11 months | This cookie is set by GDPR Cookie Consent plugin. The cookie is used to store the user consent for the cookies in the category "Analytics". |
cookielawinfo-checkbox-functional | 11 months | The cookie is set by GDPR cookie consent to record the user consent for the cookies in the category "Functional". |
cookielawinfo-checkbox-necessary | 11 months | This cookie is set by GDPR Cookie Consent plugin. The cookies is used to store the user consent for the cookies in the category "Necessary". |
cookielawinfo-checkbox-others | 11 months | This cookie is set by GDPR Cookie Consent plugin. The cookie is used to store the user consent for the cookies in the category "Other. |
cookielawinfo-checkbox-performance | 11 months | This cookie is set by GDPR Cookie Consent plugin. The cookie is used to store the user consent for the cookies in the category "Performance". |
viewed_cookie_policy | 11 months | The cookie is set by the GDPR Cookie Consent plugin and is used to store whether or not user has consented to the use of cookies. It does not store any personal data. |
SPRING SALE: BUY VOLAIR SIM COCKPIT AND SAVE $100 PLUS RECEIVE FREE ARM REST SUPPORT KIT ($100 VALUE)! USE COUPON CODE FREEARMREST AT CHECKOUT. LIMITED TIME OFFER SUBJECT TO AVAILABILITY. ONE PER CUSTOMER PLEASE. Dismiss