
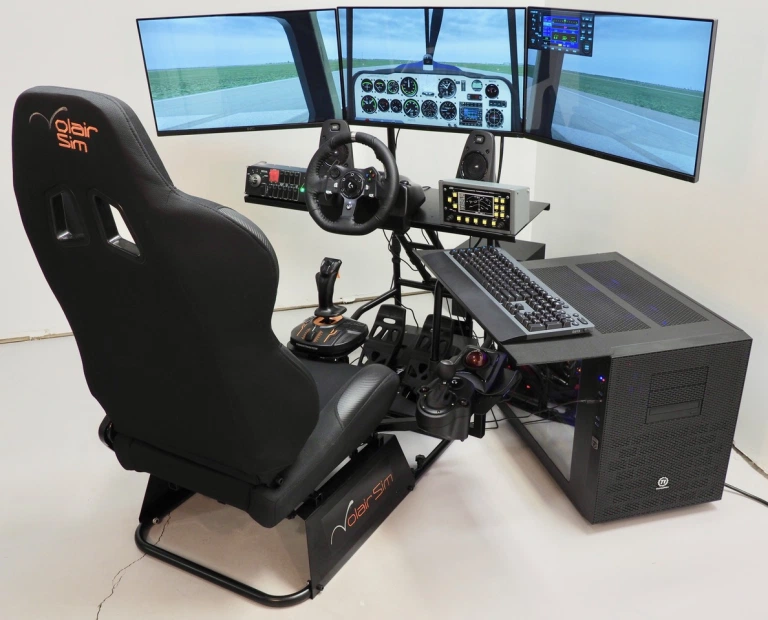
Volair Sim Triple Display Stand Set-Up
- Post author By volairsim
- Post date February 6, 2019
- No Comments on Volair Sim Triple Display Stand Set-Up
Volair Sim Triple Display Stand Set-Up
- February 6th, 2019
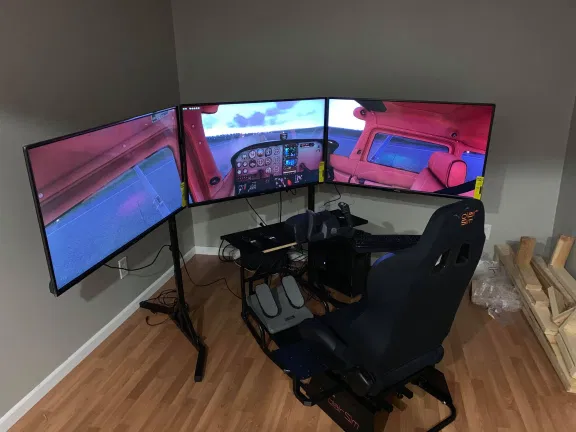
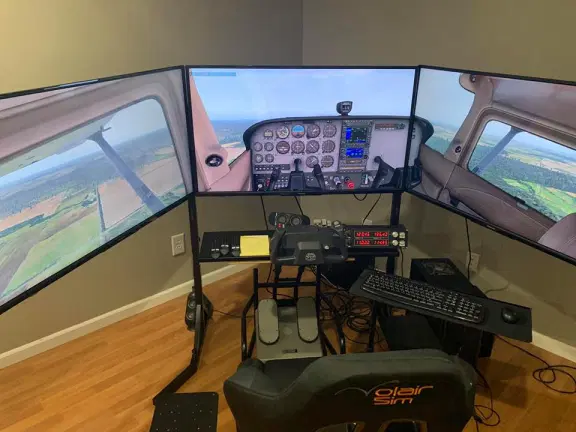
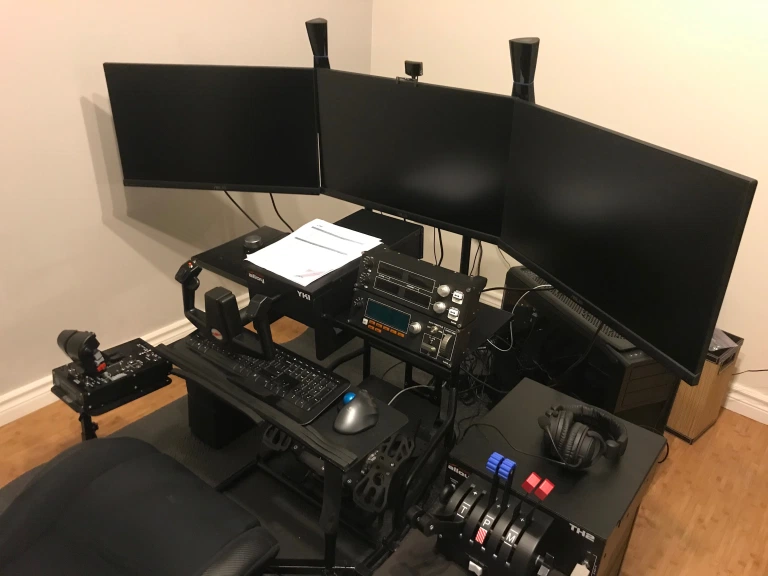
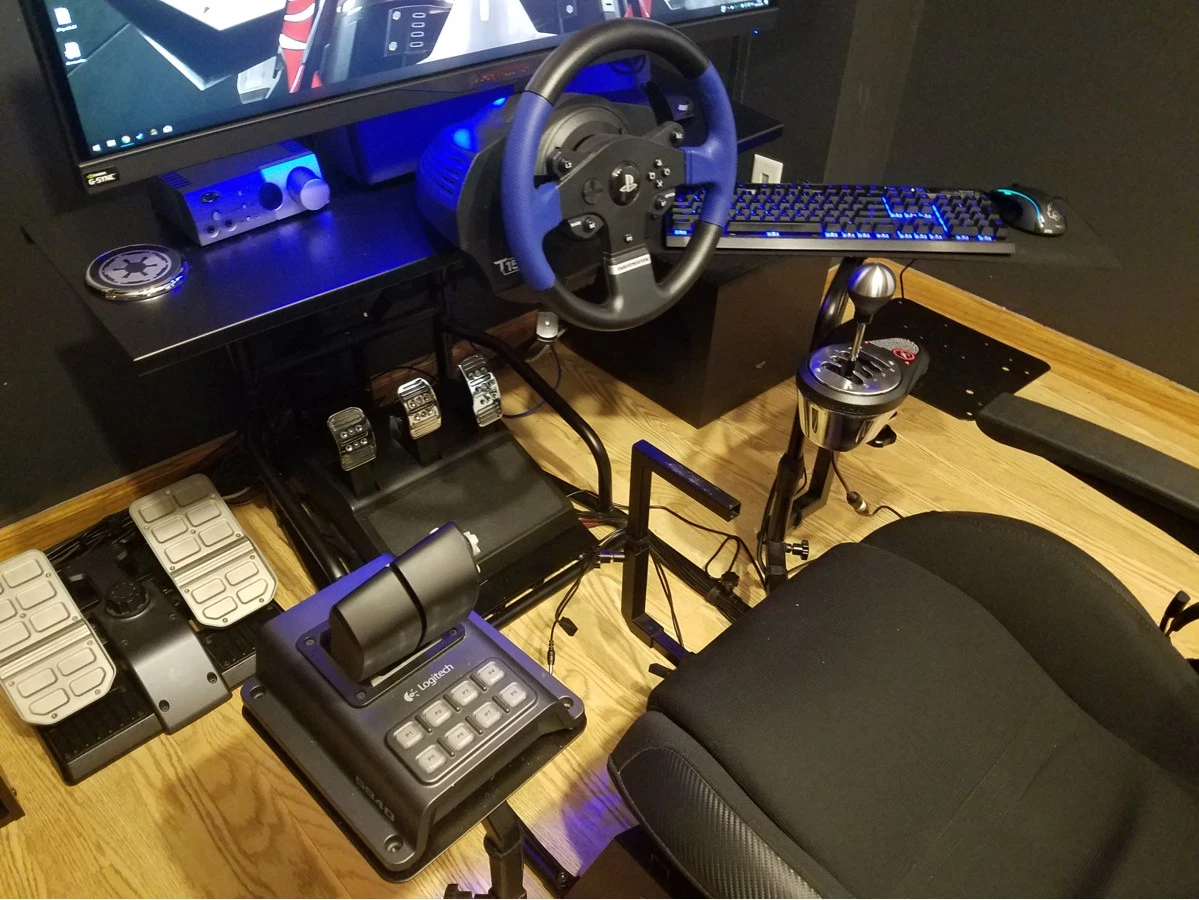
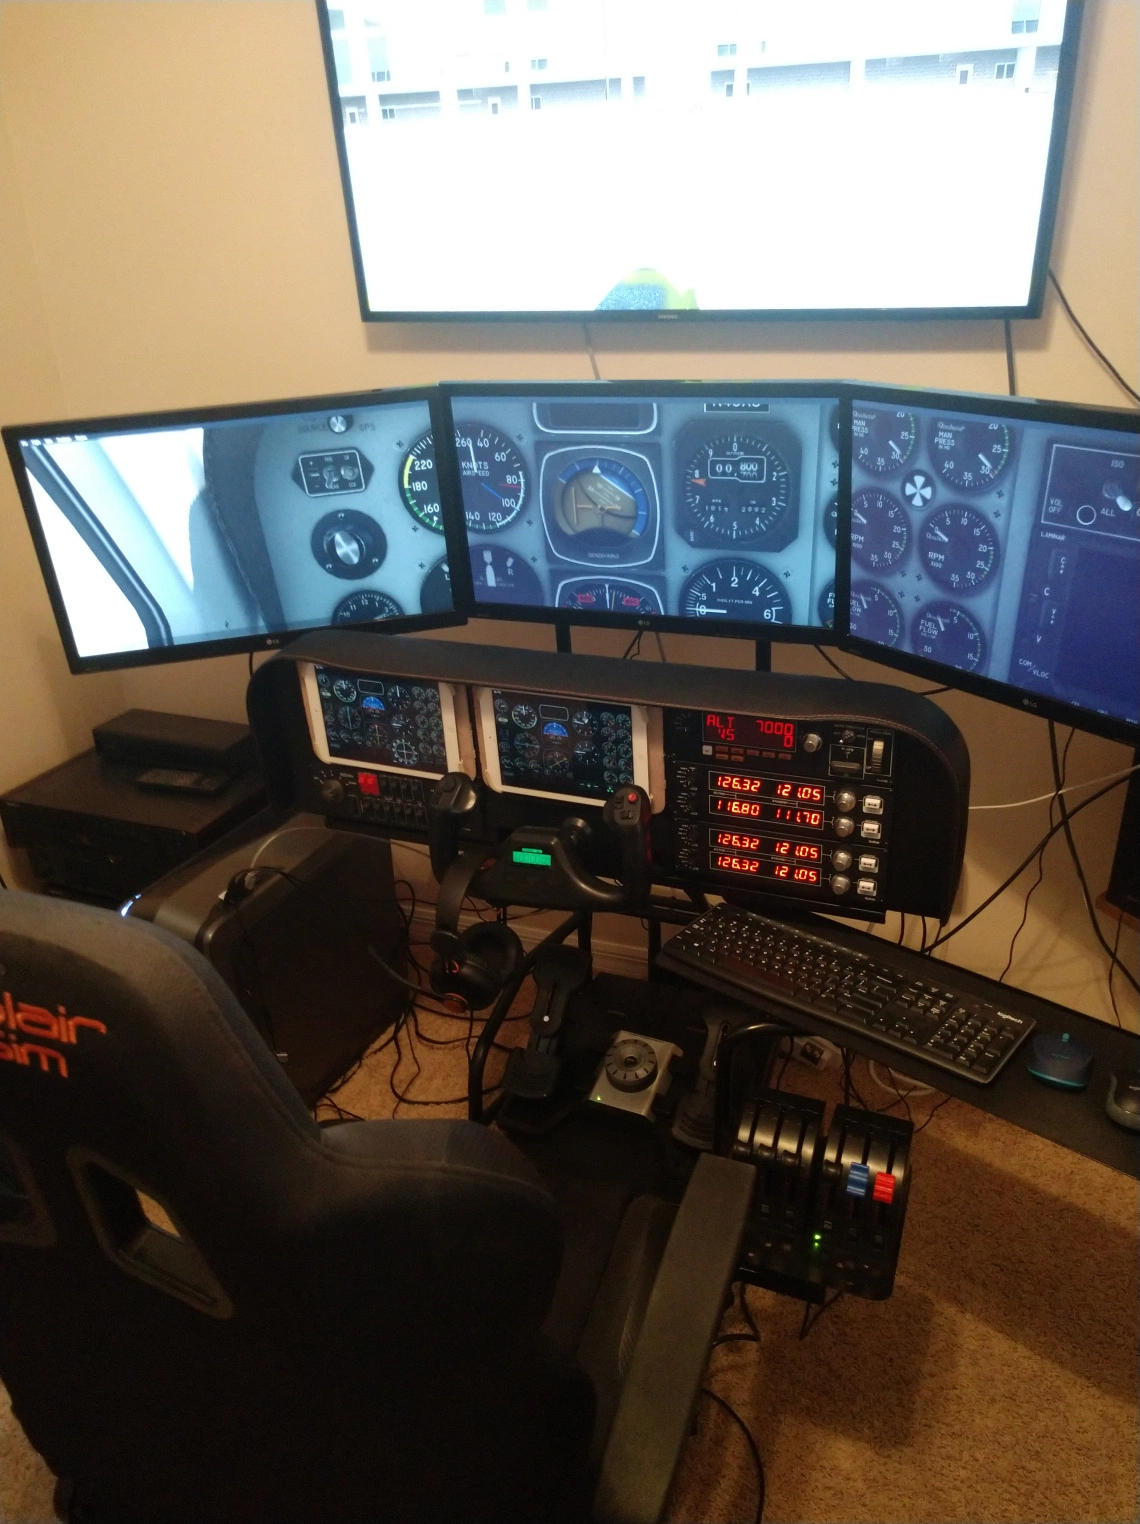
Here is a quick note from Andrew who just finished assembling the Volair Sim chassis with our independent triple display stand. Andrew picked up the cockpit and the stand from our Indianapolis warehouse. He writes, “The warehouse staff was very friendly in helping and simply used a forklift to gently set it in the bed of my truck. The quality and thickness of all the parts surpasses my expectations and should last a very long time. Installation didn’t take long at all, the longest task was unwrapping all the bubble wrap from all the parts. Overall, I know that Volair Sim didn’t take any shortcuts when developing this. I am very happy with how everything turned out. I however do regret not buying the armrests while I was there.”
There were couple of areas of install Andrew commented on. We feel this may be beneficial for others to read.
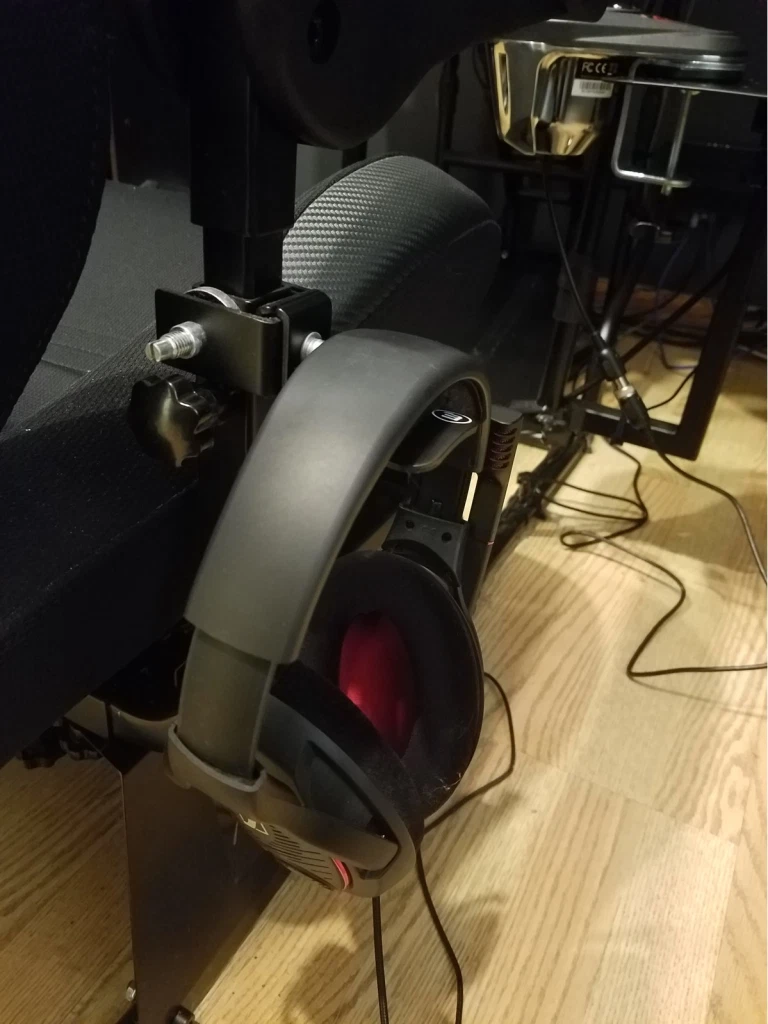
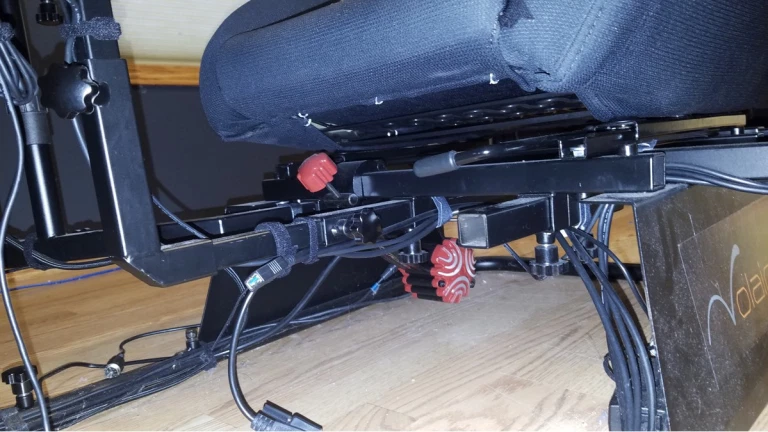
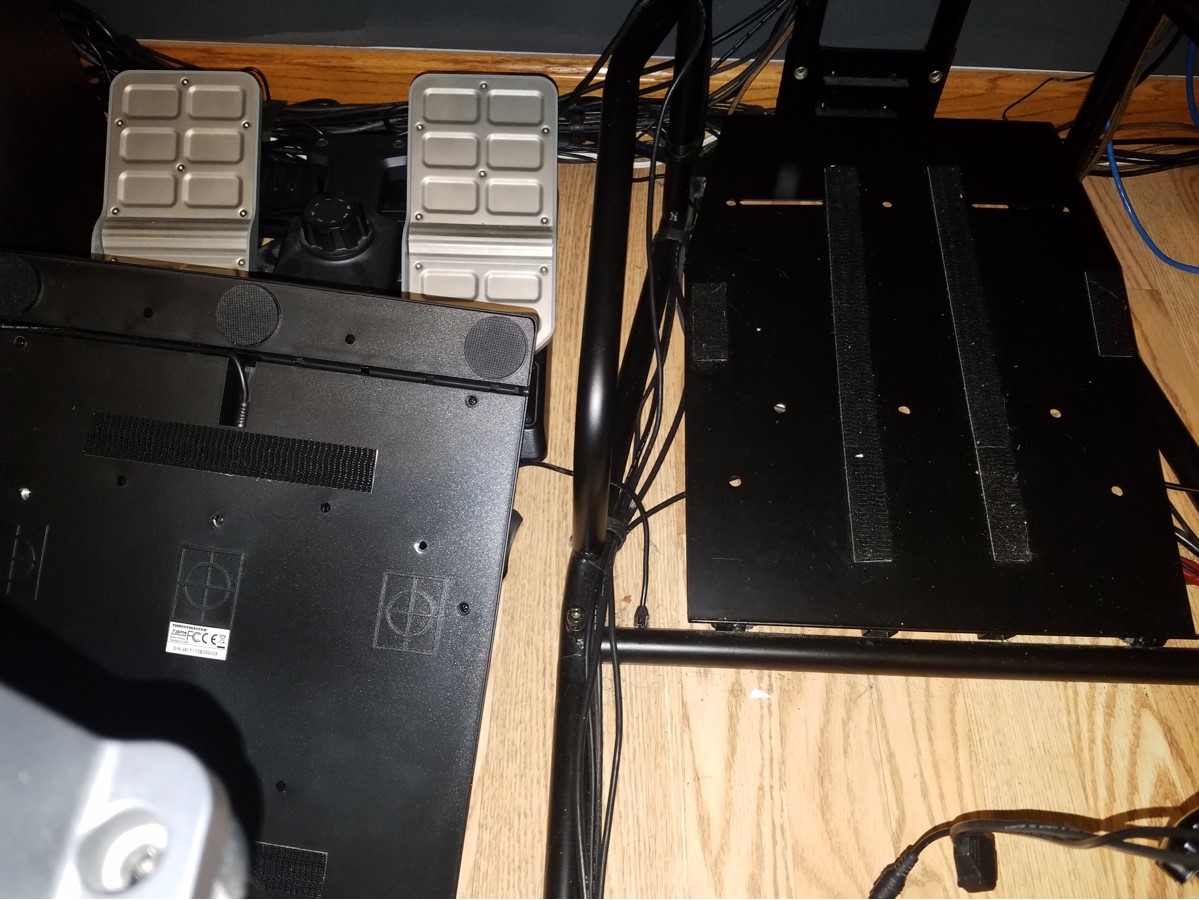
Andrew states, ”You may be interested to hear how my setup went. When installing the seat, the instructions state to put the bolt in from the bottom and place the nut inside the rail of the seat. However the nut is too large to fit within the rail. I got by this by installing the bolt from the top down, and the nut on the bottom. My 43 inch TVs have a 200 by 300 bolt pattern on the back. Therefore the bracket is only being held on the tv by 2 bolts. Also the bolts included to mount the bracket on the tv were the wrong size and length. I went to the hardware store to buy some, but turns out that luckily my tv already included them. The two bolts holding the bracket on my TV do feel strong and I don’t think it is going anywhere.”
Note that it is completely acceptable to run the seat bolts from top vs bottom as the default fit is tight (helps to use channel pliers to push the nut into the seat slider). Also note that some TVs come with (a bit unusual) 200mmx300mm bolt pattern so you will only use 2 of the 4 holes to mount it as Andrew did. Given that the modern LCD TVs are pretty light (the VESA standard was developed when Plasma was still the dominant technology which weighted a ton), this should not be an issue from safety perspective. Lastly, while we include the TV mounting bolts that should fit most installations, be prepared that your displays may feature unique bolt length/size configuration.


